Picture this: you pull the shower curtain aside and step straight into a clean, glass‑enclosed shower that makes your bathroom feel twice its size. No more wrestling with a bulky tub that hogs floor space and steals the vibe.
Peoria homeowners are swapping tubs for showers faster than you can say “home‑value boost.” A sleek shower not only frees up room for a vanity or storage, it also adds a modern punch that buyers love.
Worried about hidden costs, plumbing tricks, or picking the right style? You’re not alone, and the good news is there’s a straightforward path that keeps the budget in check while delivering a look that feels custom‑built.
Ready to see the exact steps that turn an old tub into a spa‑like shower without the guesswork? Keep reading and we’ll walk you through every detail, from demolition to the final polish.
Assessing Your Space, Budget, and Local Building Codes
Measure Twice, Cut Once
Start by pulling out a tape measure and sketching the existing tub footprint. Note the clear‑floor space around the tub, the distance to the nearest wall, and any obstacles like a toilet or vanity. These numbers will dictate whether you can go full walk‑in or need a compact corner shower.
- Width of the tub opening (usually 60‑70 in)
- Height from floor to ceiling (minimum 80 in for a comfortable shower)
- Clearance to doors, windows, and fixtures (at least 24 in on each side)
Budget Real Talk
Next, set a realistic spending ceiling before you fall in love with marble tiles. Break the project into three buckets: demolition, plumbing & structural work, and finishes. Knowing where the money goes helps you avoid nasty surprises at checkout.
- Demolition & disposal: $500‑$1,200
- Shower base, walls, and waterproofing: $1,200‑$3,500
- Fixtures, glass, and trim: $800‑$2,500
Code Check
Peoria’s building department isn’t a mystery—just a set of rules that keep your shower safe and legal. Grab a copy of the Maricopa County Residential Code or call the city’s Planning & Development Services office. Permits, proper slope, and a waterproof membrane are non‑negotiable.
- Obtain a plumbing permit for any pipe relocation
- Ensure the shower pan slopes at least 1/4 in per foot
- Install a waterproofing membrane that meets ASTM C1688
Selecting the Ideal Shower Design and Materials for Peoria Homes
Design Trends That Click in Peoria
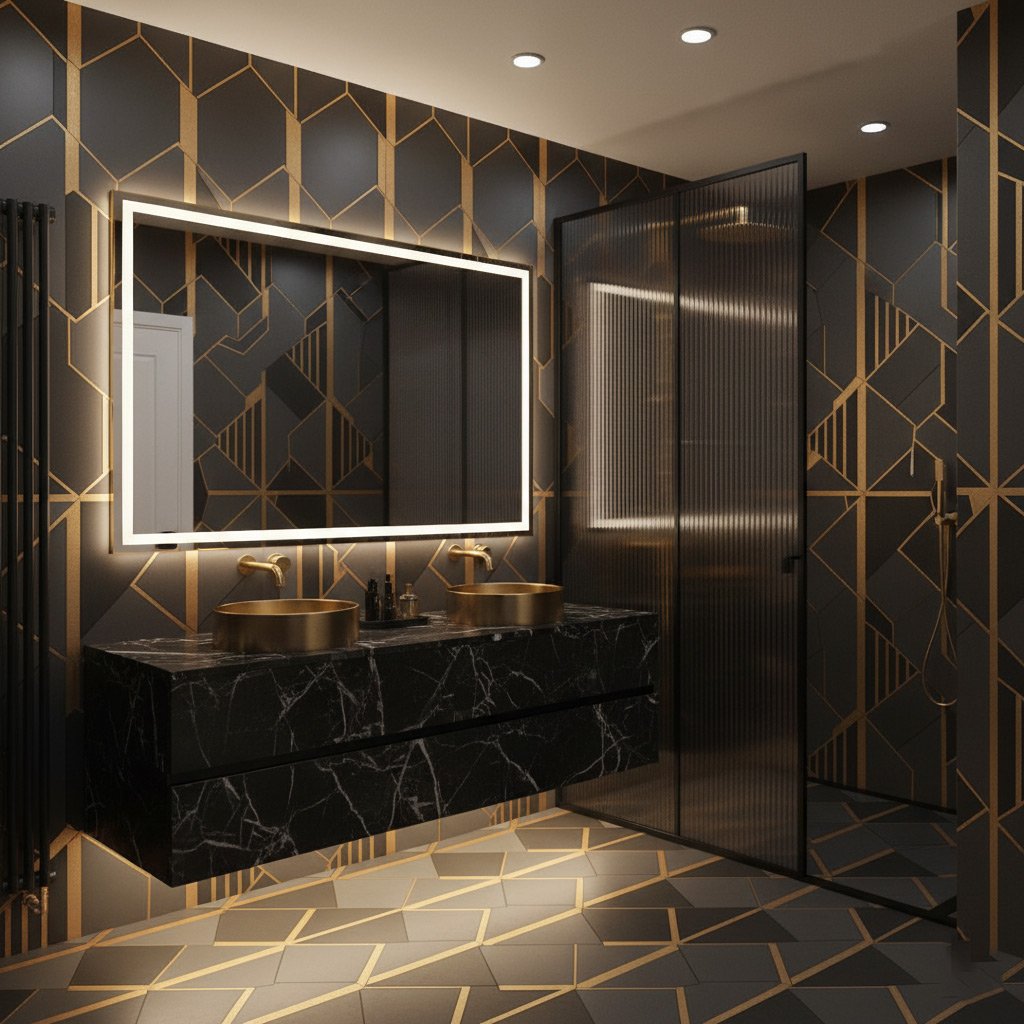
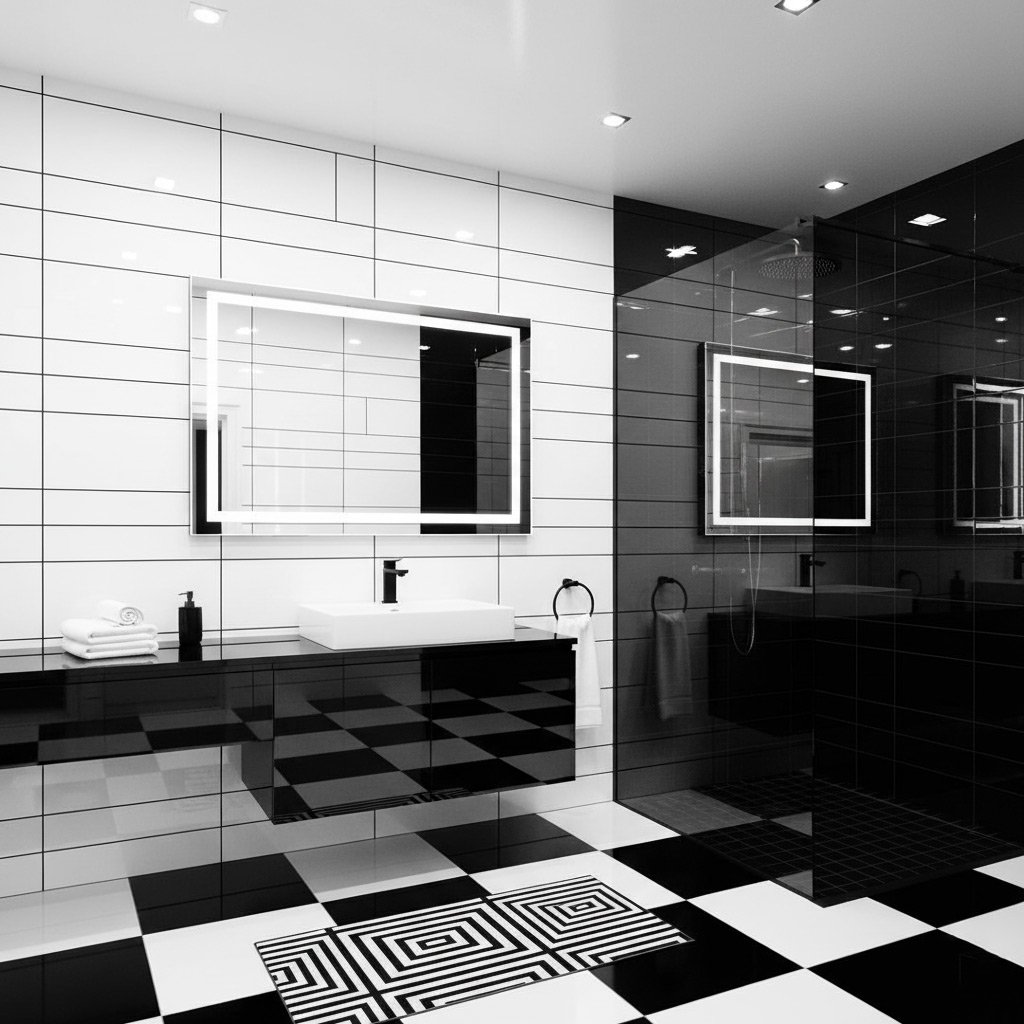
Peoria buyers love clean lines and a touch of desert‑inspired texture. Think frameless glass, recessed niches, and a low‑profile curb that keeps the floor seamless. Modern, minimalist looks sell fast, but you can still add a splash of personality with a bold tile accent.
- Frameless glass doors – open feel, easy to clean.
- Curbless entry – wheelchair‑friendly, perfect for a spa vibe.
- Linear drain – faster water evacuation, sleek look.
Material Picks That Stand Up to Arizona Heat
Hot days and dry air demand tiles that won’t crack under expansion. Porcelain and natural stone are the go‑to choices because they resist moisture and stay cool underfoot. Don’t forget the grout – epoxy grout holds up better than cement in the long run.
- Porcelain tiles – low porosity, wide color range.
- Travertine or limestone – authentic desert feel, slip‑resistant finish.
- Quartz or solid surface benches – durable, low maintenance.
Balancing Style and Cost
It’s easy to get carried away, but a smart budget keeps the project on track. Prioritize high‑traffic areas like the shower floor and walls, then splurge on a statement niche or a custom glass panel. Smart sourcing from local suppliers can shave 10‑15% off material costs.
- Standard 6‑ft. shower base – cost‑effective, reliable.
- Custom tile pattern – add only where eyes will linger.
- LED lighting – low energy, high impact.
Plumbing Re‑Routing and Structural Adjustments: What’s Involved
Assess the existing layout
First thing’s first: locate the main waste line and the hot‑water supply that feed the tub. In many Peoria homes built before the ’90s, the drain runs straight down the wall, which means you’ll have to bend it to meet a new shower pan. Map it out on graph paper or use a simple floor plan app so you know exactly where the pipes sit before you cut anything.
Reroute the drain and supply lines
Shifting from a tub to a shower usually means moving the drain up 6‑12 inches and adding a new curb or linear drain. A licensed plumber will install a PVC or ABS pipe with a 2‑inch diameter to handle the higher flow rate of a shower. Don’t forget to add a clean‑out access point; it saves you a headache later.
- Turn off water at the main valve.
- Cut the old tub drain and cap it temporarily.
- Install a new PVC pipe run that slopes at least 1/4" per foot toward the main stack.
- Connect the new shower valve to the hot‑water lines, using flexible copper or PEX for easier bends.
Structural tweaks you can’t ignore
The tub’s weight is distributed across a concrete slab, but a shower base sits on a sloped mortar bed. You may need to reinforce the subfloor with ½‑inch cement board or a thin‑set layer to prevent cracking. Check for any joist interference—the new curb might hit a joist, requiring a notch or a sistered joist for clearance.
Finally, seal every joint with a high‑quality silicone or urethane sealant. A tiny leak behind the wall can turn a fresh shower into a costly repair. Take the time now, and the shower will stay dry for years to come.
Demolition, Prep, and Waterproofing – The Critical First Steps
Clear the old tub out of the way
First thing’s first: yank the tub out. Turn off the water, disconnect the drain, and cut the supply lines. A reciprocating saw or a pry bar does the trick, but wear safety glasses – you don’t want shards in your eye.
Prep the space for a watertight win
Once the tub is gone, you’ll see the subfloor. Check it for rot or soft spots; replace any damaged plywood before you move on. A clean, level surface is the foundation of a leak‑free shower.
Waterproof like a pro
Now the fun part: sealing the area. Apply a liquid waterproof membrane over the floor and walls, overlapping each pass by at least six inches. Let it cure, then tape the seams with a fiberglass mesh tape for extra strength.
- Use a high‑quality membrane approved for Arizona’s climate.
- Seal corners and joints with a flexible sealant.
- Inspect for pinholes before the next step.
Installing the Shower Base, Walls, and Fixtures Correctly
Base Installation
Lay the pre‑sloped shower pan exactly where the old tub used to sit. Level it to within 1/8 inch and double‑check the slope toward the drain.
Secure the pan with the manufacturer’s screws, then run a bead of silicone around the perimeter before the next step.
- Use a self‑leveling compound if the floor isn’t perfectly flat.
- Test the drain for proper flow before you cover it.
- Mark the location of the curb for a clean, watertight edge.
Wall System
Choose between cement board, waterproof backer board, or a prefabricated wall kit—whichever fits your budget and timeline.
Attach the board with corrosion‑resistant screws, then tape and mud the seams with a fiberglass mesh tape for extra strength.
- Apply a liquid waterproofing membrane; let it cure fully.
- Install the glass panels or tile, leaving a 1/8‑inch gap for caulk.
- Seal every joint with a 100% silicone sealant.
Fixture Hook‑up
Mount the shower valve on the stud wall, making sure the rough‑in connections line up with the existing plumbing.
Run the supply lines, then attach the showerhead, handheld, and any body jets you’ve chosen.
- Use Teflon tape on all threads to prevent leaks.
- Check for proper water pressure before you finish.
- Wrap the trim in a silicone bead for a polished look.
Case Study: Converting a 1970s Peoria Tub into a Spa‑Like Walk‑In Shower
The Starting Point
When the Johnsons first called, their bathroom looked like a time capsule from 1972. A cracked enamel tub, outdated tile, and a leaky faucet were the only clues that the space had been ignored for decades.
Our quick audit revealed three pain points:
- Insufficient floor space – the tub ate up 40% of the room.
- Old copper pipes that needed replacement to meet today’s code.
- Water damage hidden behind the wall studs.
Design Decisions
We aimed for a spa vibe without blowing the budget. The plan hinged on three choices:
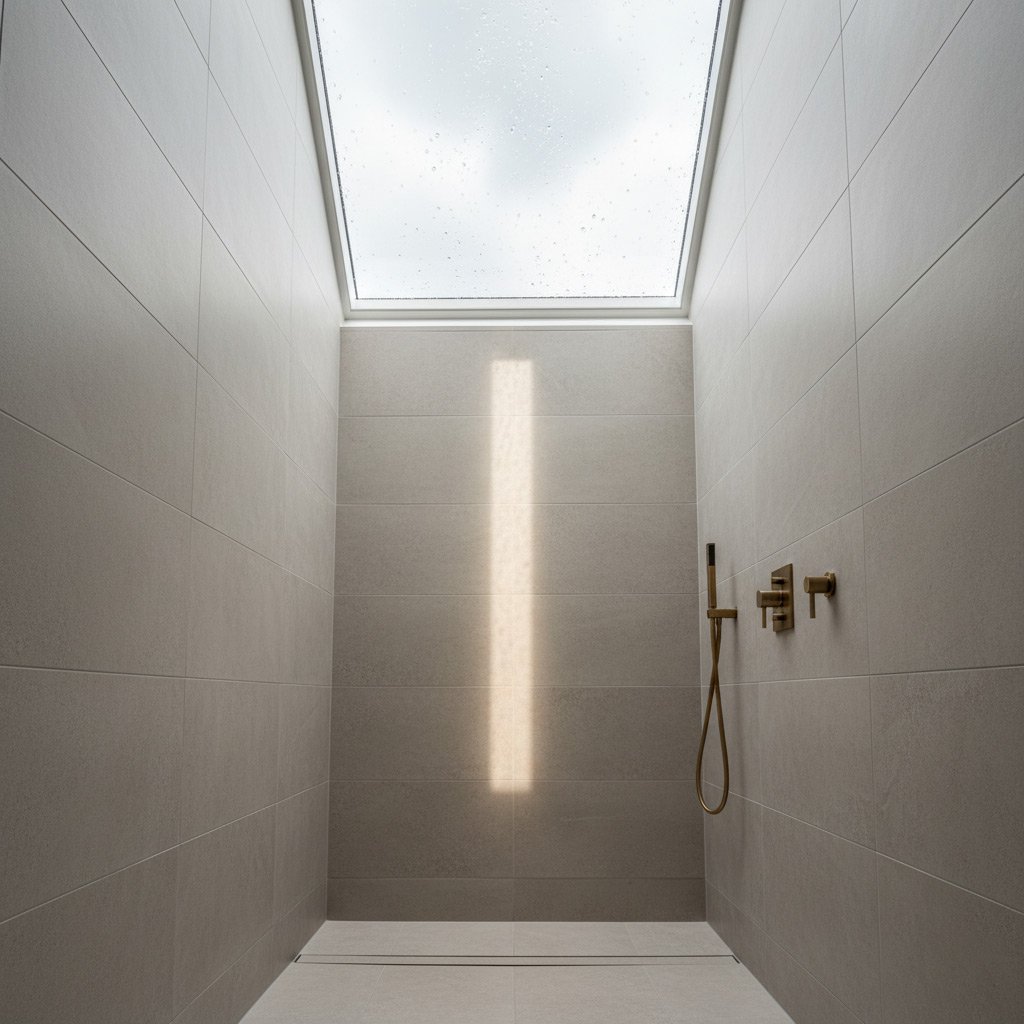
- Linear, frameless glass walls to open the room up.
- A large, low‑profile acrylic shower base that slides under the existing vanity.
- Large-format, slip‑resistant porcelain tiles in a soft gray that echo the desert sky.
Every material was vetted for durability in Peoria’s dry heat and for ease of cleaning.
The Transformation
Demolition took a single Saturday. We stripped the tub, removed the old backer board, and installed a new waterproof membrane. The plumbing crew rerouted the drain to a linear waste, a move that saved $800 in labor.
Within two weeks, the glass enclosure was in place, the base sealed, and the new fixtures—rain‑shower head, handheld wand, and brushed‑nickel controls—were wired up. The Johnsons walked in, pulled the curtain aside, and stepped into a walk‑in shower that felt like a boutique spa.
Final Words
Before you swing that new glass door open, double‑check the water‑tight seal and make sure the drain slopes at least 1/4 inch per foot. A quick water test will catch any hidden leaks before the grout sets.
Quick Action Checklist
- Verify the permits are signed off and posted.
- Inspect the shower base for levelness; shim if needed.
- Seal all joints with a high‑quality silicone that resists mold.
- Run hot and cold water to confirm proper pressure and temperature balance.
When the shower is ready, celebrate the extra square footage and the boost in home appeal. If you’re still unsure about any step, our team in Peoria is just a call away—ready to guide you from start to finish.
Explore more projects and get inspired by other transformations in our Tub to Shower Conversions gallery.
People Also Ask
How much does a tub‑to‑shower conversion typically cost in Peoria, AZ?
A typical conversion in Peoria ranges from $4,000 to $9,000, depending on the size of the space, chosen materials, and any necessary plumbing re‑routing. Labor costs are higher if structural changes or extensive waterproofing are required.Do I need a permit for a tub‑to‑shower conversion in Peoria?
Yes, most Peoria municipalities require a building permit for any bathroom remodel that involves plumbing or structural modifications. Check with the Peoria Planning & Development Services to ensure compliance with local codes.Can I keep my existing bathtub plumbing when converting to a shower?
In many cases the existing drain and water supply can be reused, but the pipe layout often needs adjustment to meet shower flow requirements and code standards. A licensed plumber can assess whether the current plumbing is compatible or if re‑routing is necessary.What are the best shower wall materials for a humid Peoria climate?
Porcelain tile, natural stone, and high‑quality acrylic panels are excellent choices because they resist moisture and temperature fluctuations common in Arizona homes. Pair them with a reliable waterproofing membrane for long‑term durability.How long does a typical tub‑to‑shower conversion take from demolition to finish?
A standard conversion usually takes 1 to 2 weeks, assuming no major structural issues arise. The timeline includes demolition, waterproofing, installing the base and walls, and final fixture placement.Peoria Bathroom Remodel specializes in comprehensive bathroom renovations, bringing over 15 years of craftsmanship to homes throughout Peoria, Arizona. Their team combines local knowledge with a commitment to quality, delivering personalized solutions that enhance both function and style.
Need Bathroom Remodel?
We deliver prompt, results‑driven home service solutions throughout Peoria, AZ and neighboring ZIPs (85345, 85381, 85382, 85383, 85385). Our focus on efficiency gets your project completed on schedule, every time.
Get Bathroom Quote