Picture this: you pull the shower curtain aside and step straight into a modern, glass‑enclosed shower that feels like a spa retreat, not a cramped bathtub.
In sunny Peoria, swapping that old tub for a sleek shower isn’t just a style move—it’s a smart upgrade that adds value, saves water, and gives you a space you actually want to use.
Most homeowners assume the conversion is a nightmare of permits, demolition, and surprise costs, but the truth is far simpler. With the right plan, you can avoid the guesswork and keep the project on budget.
Stick around and we’ll walk you through each phase, from tearing out the old tub to laying the final tile, so you can start planning your own upgrade today.
Assessing Your Space, Budget, and Design Goals
Measure the Footprint
Start by pulling out a tape measure and sketching the existing tub area on graph paper. Note the width, length, and ceiling height—these numbers dictate which shower bases will actually fit. Don’t forget to check for any protruding pipes or vents that could bite into your new layout.
Set a Realistic Budget
Before you fall in love with marble tiles, break down the costs into clear categories. This prevents surprise invoices once the demolition crew shows up.
- Materials: shower pan, walls, fixtures, tile, grout.
- Labor: demolition, plumbing, waterproofing, tiling.
- Permits & inspections: city fees and possible re‑inspection.
- Contingency: 10‑15% for unexpected issues.
Define Your Design Goals
Ask yourself what you want the finished shower to feel like. Is a spa‑like retreat your aim, or do you need a quick‑access, low‑step entry for seniors? Write down the top three must‑haves—whether it’s a bench, a rain showerhead, or a frameless glass enclosure—so every decision stays focused on those priorities.
Understanding Peoria Permits and Building Code Requirements
Before you swing that sledgehammer, Peoria’s Building Services Department wants to see a paper trail. Permits aren’t a bureaucratic nightmare—they’re your safety net. A missing permit can halt work, bring fines, or even force you to undo the whole shower.
Key permits you’ll need
- Plumbing Permit: Required for any changes to drain lines, supply lines, or venting.
- Mechanical Permit: If you add a new fan or adjust ventilation, this one kicks in.
- Electrical Permit: Needed only if you’re moving lights, adding a heated floor, or installing a new exhaust fan.
Apply online or drop by City Hall with a simple floor plan and a sketch of your proposed shower. The review usually takes 5‑7 business days—fast enough to keep momentum.
Common code pitfalls
- Improper slope on the shower pan—code demands at least a 1/4‑inch per foot slope toward the drain.
- Missing waterproofing membrane behind tile—fails the “wet area” test and can cause mold later.
- Incorrect vent size for the new drain—undersized vents lead to slow drainage and foul odors.
Cross‑check each item with the 2023 Arizona Residential Code. When in doubt, ask the inspector to walk the plan with you; a quick clarification now saves a costly redo later.
Demolition and Site Preparation: Safely Removing the Existing Tub
First thing’s first—shut off the water supply and drain every last drop from the tub. Turn off the main valve, open the faucet to release pressure, then disconnect the drain line. This prevents surprise leaks while you’re ripping out the old fixture.
Step‑by‑step demolition
- Protect the floor: Lay down a heavy‑duty drop cloth or plywood to catch debris and keep the subfloor from scratching.
- Remove the tub surround: Use a reciprocating saw or a pry bar to break the caulk and pry away tile or acrylic panels.
- Detach the tub: Unscrew the mounting brackets, cut any remaining plumbing with a pipe cutter, and gently lower the tub with a helper.
- Clear the space: Sweep out dust, old grout, and any broken pieces before moving on.
Once the tub is out, give the area a once‑over for hidden damage. Look for water stains, mold, or rotted wood—these are the things that can bite you later. If you spot anything, replace the affected subfloor or treat the mold now, so the new shower sits on a solid, dry foundation.
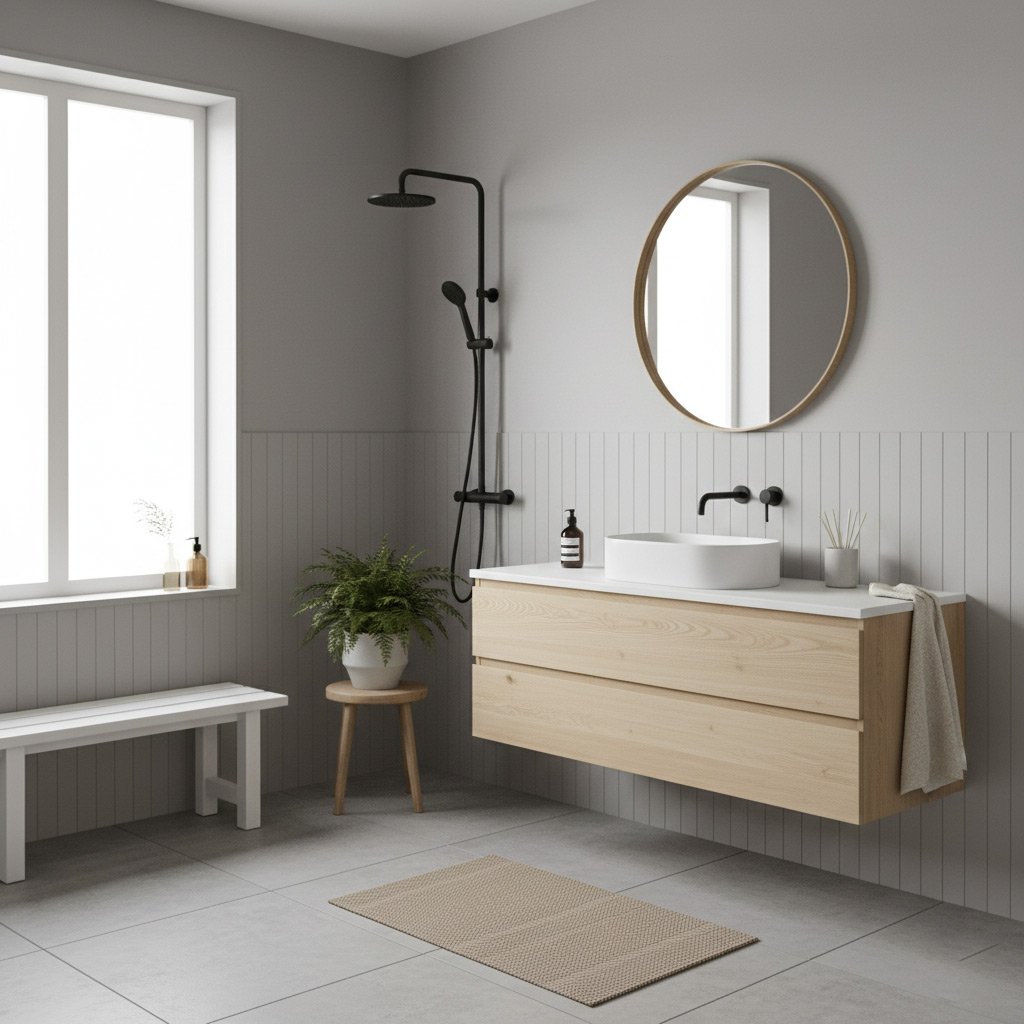
Selecting Shower Bases, Walls, and Fixtures for a Seamless Look
Shower Bases: The Foundation of Your New Spa
Pick a base that matches the footprint of your old tub to avoid costly floor re‑layout. Pre‑sloped acrylic or cast‑iron pans give you a ready‑made slope, while a custom tile base offers a designer feel but demands extra labor.
- Acrylic – lightweight, easy to install, budget‑friendly.
- Tile‑ready mortared base – perfect for a high‑end look, requires waterproof membrane.
- Solid cast‑iron – durable, retains heat, heavier handling.
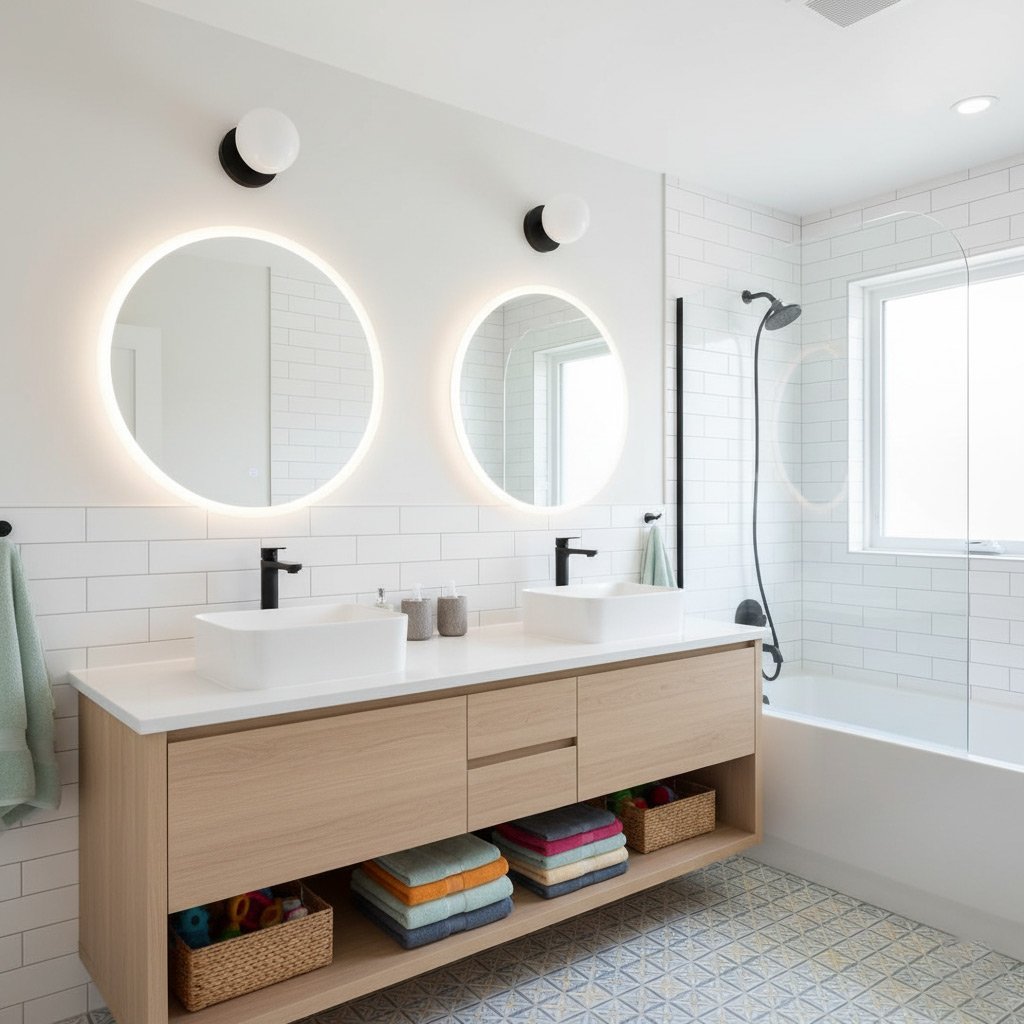
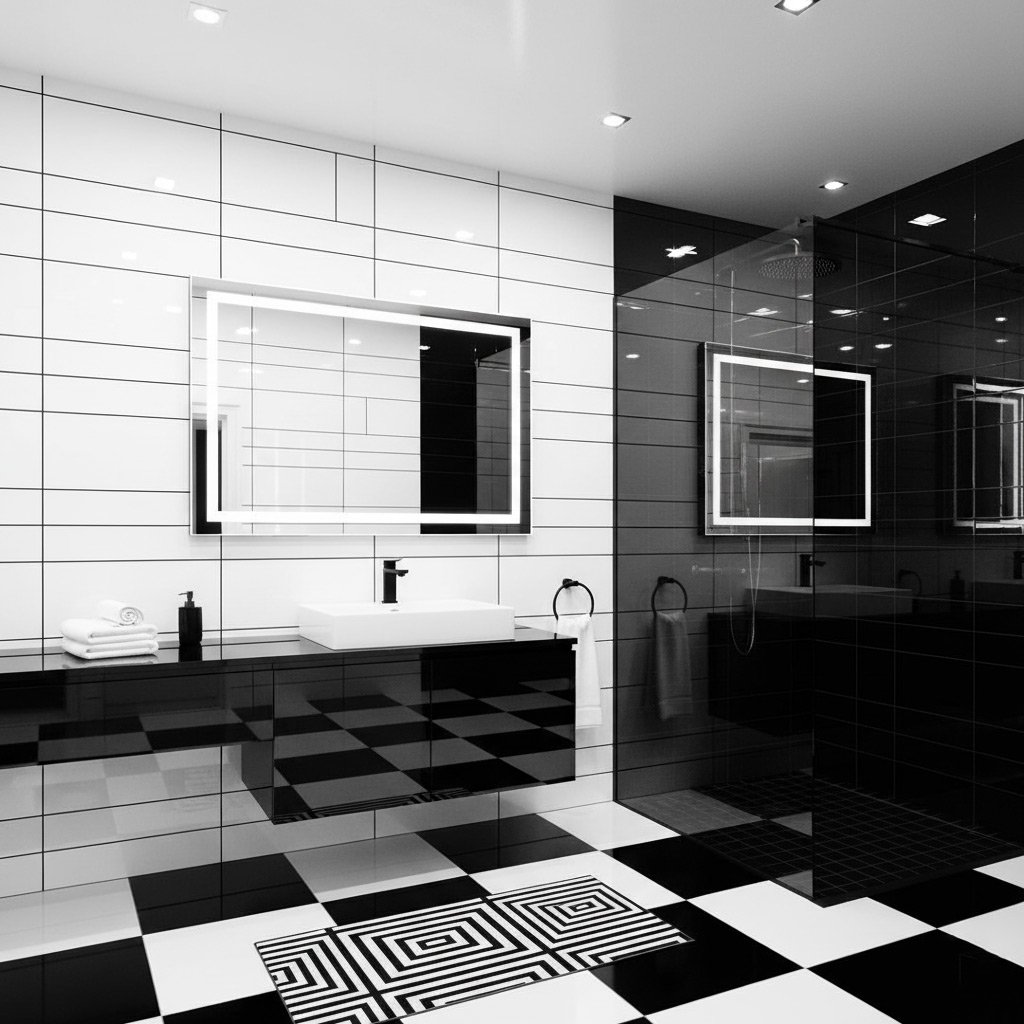
Shower Walls: From Glass to Tile, Choose Your Canvas
Glass panels create a sleek, open vibe, but tile lets you play with pattern and texture. If you love a clean line, go for framed glass that slides on tracks; for a bold statement, consider a large‑format tile that reduces grout lines.
- Frameless glass – modern, easy to clean, visual expansion.
- Framed glass – budget‑wise, sturdy, classic look.
- Tile (ceramic, porcelain, natural stone) – endless design options, requires proper waterproofing.
Fixtures: The Finishing Touches That Speak Style
When it comes to faucets, heads, and accessories, less is more. A single‑handle thermostatic valve gives you precise temperature control without a cluttered wall.
- Rain‑shower head – spa‑like rain feel, easy to install.
- Handheld shower – flexibility for cleaning and kids.
- Wall‑mounted faucet with anti‑drip feature – saves water, looks tidy.
Plumbing, Drainage, and Waterproofing: Technical Essentials
Re‑routing the Supply Lines
When you pull the tub out, the old copper or PEX runs rarely line up with a new shower head and valve. Shift the hot‑and‑cold lines to the wall studs that will host your new controls, and keep the pipe length a little longer than you think you need—extra slack saves a lot of panic later.
Key steps:
- Turn off the main water supply and drain the lines.
- Mark the new valve location, then cut and fit the pipe with a quick‑connect fitting.
- Test for leaks before you close the walls.
Drainage Slope and Trap Placement
The shower drain must shed water at a minimum 1/4‑inch per foot slope. If the floor is flat, you’ll need to build a shallow mud‑bed or use a pre‑sloped shower pan. Don’t forget the P‑trap—it’s the silent hero that stops sewer gases from sneaking into your bathroom.
Quick checklist:
- Verify the existing drain pipe is at least 2 inches in diameter.
- Install a new PVC or ABS trap at the correct height.
- Seal the connection with a watertight clamp and run a test with water.
Waterproofing the New Shower Enclosure
Waterproofing is the line between a spa‑like shower and a soggy nightmare. Apply a liquid‑applied membrane or a sheet system over the floor and walls, overlapping each layer by at least 2 inches. Roll it on while it’s still wet—the membrane needs a seamless seal.
Final touches:
- Install a waterproof backer board before tiling.
- Seal all corners with a flexible silicone caulk.
- Run a flood test for 24 hours; any drip means you go back and fix it.
Case Study: A Peoria Homeowner’s Tub‑to‑Shower Transformation Success
The Challenge
When Maria from Peoria opened her bathroom door, the tub looked like a relic from the ’80s—cramped, leaky, and never used. She wanted a shower that felt like a mini‑spa but feared a mountain of permits and surprise costs.
Her budget was tight, and the space was a tight rectangle, so every inch counted. The goal? A sleek, glass‑enclosed shower that would boost resale value and cut her water bill.
The Solution
We started with a precise layout, swapping the tub for a low‑profile acrylic base and frameless glass walls. The plumbing was rerouted just 12 inches, keeping labor low and the timeline short.
Key moves that saved Maria time and money:
- Pre‑approved permit package submitted in one day.
- Use of a prefabricated shower pan that fit the existing floor joist.
- Tile‑ready wall panels that eliminated a full waterproofing membrane.
The Payoff
Within three weeks, Maria’s bathroom went from “meh” to “wow.” She now steps into a rain‑shower that feels like a desert oasis, and her water usage dropped 30%.
She told us, “I thought a tub‑to‑shower was a nightmare, but it turned out to be the easiest upgrade I’ve ever done.” The resale appraisal added $12,000 to her home’s value—proof that a smart remodel pays off.
Final Words
Stay on Track
Keep every receipt, permit, and inspection report in a single folder. When the paperwork is tidy, the warranty stays solid. A quick glance at your files can save you weeks of back‑and‑forth with the city.
- Save digital copies on your phone.
- Mark inspection dates on your calendar.
- Ask the contractor for a warranty summary before they leave.
Keep It Fresh
After the tiles are set, treat your new shower like a high‑performance machine. Regular grout sealing and a gentle, non‑abrasive cleaner keep the shine alive. Spot a leak? Call a pro before it spreads.
Ready to start your own flip? Our team lives and works in Peoria, so we know the permits, the plumbers, and the perfect shower bases for desert homes. Check out more on our Tub to Shower Conversions page and get the ball rolling.
People Also Ask
What is the first step in converting a tub to a shower in Peoria, AZ?
The initial step is to assess your bathroom’s available space, set a realistic budget, and define your design goals. This helps you choose the right shower size, style, and materials before any demolition begins.Do I need a permit for a tub‑to‑shower conversion in Peoria?
Yes, most tub‑to‑shower projects require a building permit from the City of Peoria, especially if you’re altering plumbing or structural elements. Check the local building department for specific code requirements and inspection schedules.How is the existing tub safely removed?
Professional contractors first shut off water, disconnect plumbing, and protect surrounding surfaces. They then cut the tub into manageable sections and remove it using proper lifting equipment to avoid damage to walls or flooring.What waterproofing methods are required for a new shower?
A waterproof membrane must be installed on the floor and walls, followed by a sloped shower base to direct water toward the drain. Sealing all seams with a high‑quality sealant ensures a leak‑free enclosure.How long does a typical tub‑to‑shower remodel take in Peoria?
A standard conversion usually takes 1‑2 weeks, depending on the scope of plumbing changes and material availability. Complex designs or custom tile work can extend the timeline slightly.Peoria Bathroom Remodel specializes in comprehensive bathroom renovations, bringing over a decade of craftsmanship to homes throughout Peoria, Arizona. Their team combines local knowledge with a commitment to quality workmanship, ensuring each project reflects the unique style and functional needs of the community.
Need Bathroom Remodel?
We deliver prompt, results‑driven home service solutions throughout Peoria, AZ and neighboring ZIPs (85345, 85381, 85382, 85383, 85385). Our focus on efficiency gets your project completed on schedule, every time.
Get Bathroom Quote