
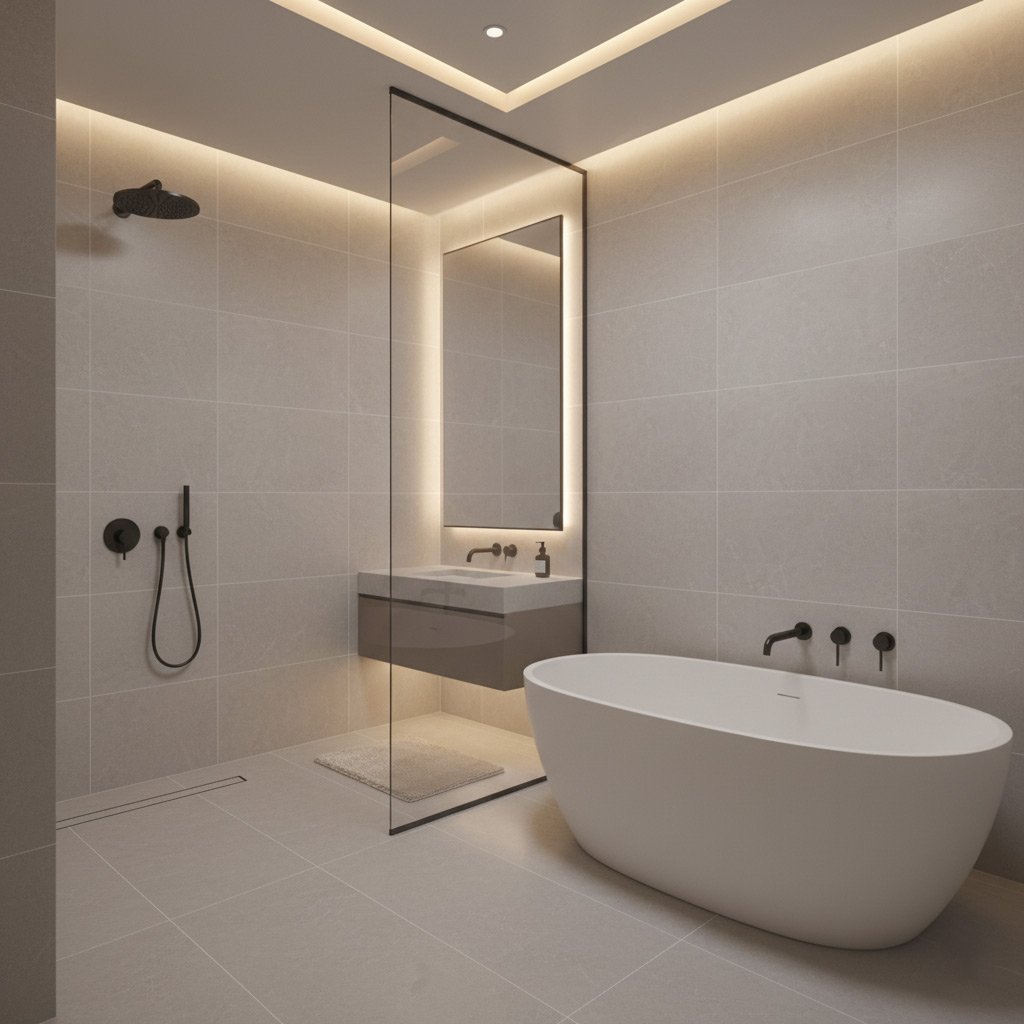
Picture this: you slide into a walk‑in tub that feels like a five‑star spa, and nobody can tell you it wasn’t installed by a pro. In Peoria, where the desert heat makes a soothing soak priceless, a botched install can turn that dream into a leaky nightmare.
Most homeowners jump in headfirst, only to discover hidden plumbing quirks, uneven floors, or a tub that sits crooked. Those missteps cost time, money, and a lot of frustration—something you can dodge with a little insider know‑how.
That’s why I’m spilling the five secrets that turn a regular bathroom remodel into a flawless walk‑in tub masterpiece. From framing tricks to waterproofing hacks, these tips are the exact playbook the top remodelers in Peoria swear by.
Ready to see how the experts make every install look effortless? Keep reading and you’ll get the step‑by‑step roadmap you need to get it right the first time.

Assessing the Space: Floor, Plumbing, and Structural Prep
Measure twice, cut once – the floor check
Start by pulling out a tape measure and confirming the exact footprint of the tub. You need a level surface that can bear the weight of water, a person, and the tub itself – that’s roughly 300 lb per square foot. If the slab shows any dips or high spots, mark them and plan to grind or shim accordingly.
Don’t forget to scan for hidden obstacles: floor joists, HVAC ducts, or old tile that could shift under load. A quick laser level test will tell you if the floor is truly flat or just pretending.
Plumbing – know what you’re dealing with before you cut
Locate the existing drain and water supply lines. In many Peoria homes the supply is ½‑inch copper, but older houses may still have galvanized steel. Identify the pipe material, then decide if you’ll need an adapter kit or a full replacement.
- Check the distance from the wall to the drain – you’ll need at least 2 inches of clearance for the tub’s overflow.
- Verify the slope of the drain pipe; a ¼‑inch per foot drop is the sweet spot for proper drainage.
- Turn on the water and watch for leaks; a drip now is a flood later.
Structural prep – build a foundation that won’t quit
The tub’s weight plus water creates a serious load. Reinforce the floor with 2×6 joists or a plywood sister board if the existing framing looks thin. Secure the reinforcement with construction adhesive and screws – no shortcuts.
Finally, install a pressure-treated ledger board along the back wall. This acts as a sturdy anchor for the tub’s frame and keeps the unit from shifting when you step in and out.
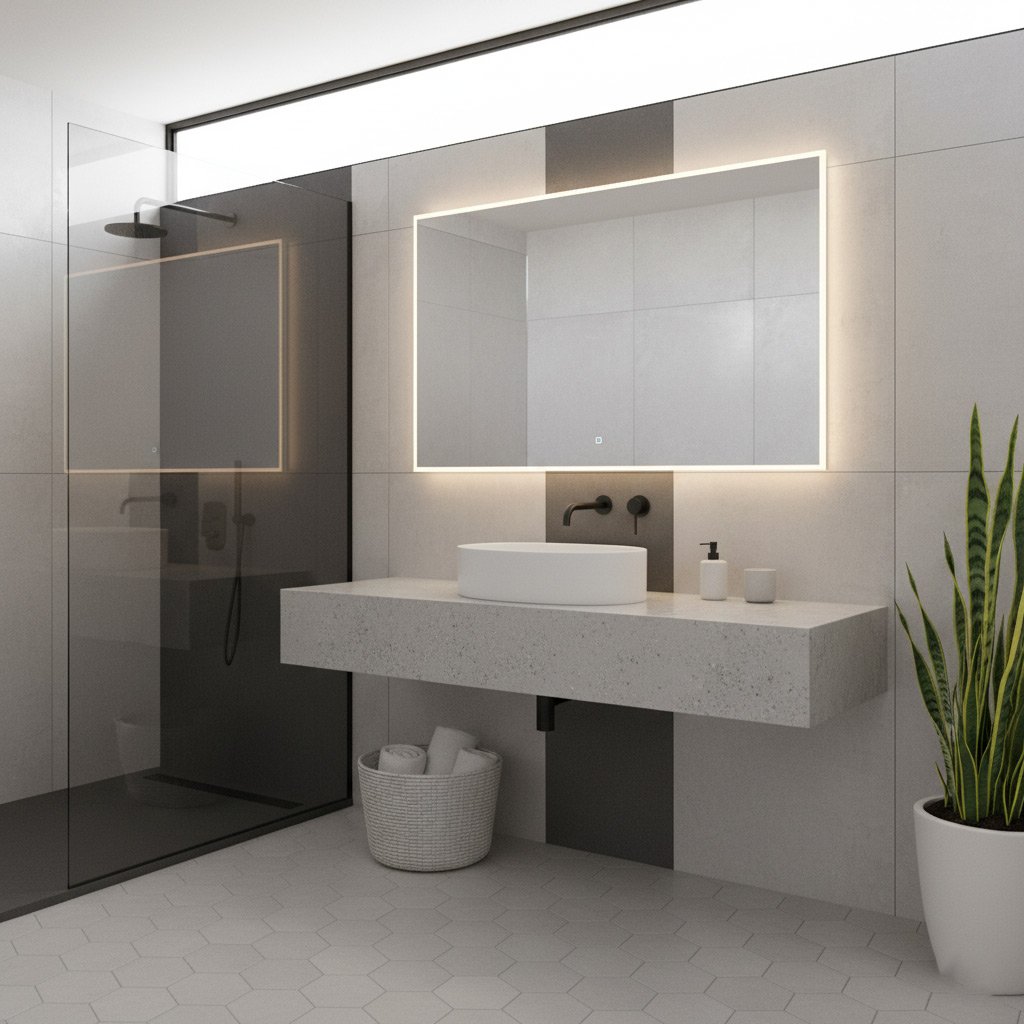
Selecting the Ideal Walk‑In Tub for Peoria’s Climate and Lifestyle
Peoria’s desert heat means you want a tub that stays warm without guzzling electricity. Look for models with high‑efficiency insulation and a built‑in heater that can maintain a soothing temperature even when the outside hits 110°F.
Material Matters
Not all tubs are created equal. Acrylic is light and resists cracking, while cast‑iron holds heat like a champ. Choose based on how you plan to use it:
- Acrylic – easy to move, quick to install, great for remodels with limited floor load.
- Cast‑iron – heavy, but it keeps water warm longer, perfect for long soak sessions.
- Stone‑resin – offers a spa‑like feel, but watch the weight.
Don’t forget the finish. A matte surface hides water spots, while a glossy coat looks sleek but needs more upkeep. Pick what fits your daily routine.
Features That Match a Peoria Lifestyle
Think about how you’ll actually use the tub. If you love a quick rinse after a hike, a quick‑drain system saves minutes. If you’re into aromatherapy, a tub with a built‑in jet and ozone‑compatible vent is a win.
- Low‑step entry – essential for seniors and anyone with limited mobility.
- Handrails and grab bars – safety first, especially on slippery desert tiles.
- Digital controls – set temperature, timer, and even play music from your phone.
Finally, match the tub’s size to your bathroom’s footprint. A 60‑inch model fits most standard layouts, but a compact 48‑inch version can slip into tighter spaces without sacrificing comfort.
Framing and Reinforcement: Building a Level, Load‑Bearing Base
Before the tub even touches the floor, you need a skeleton that can handle the weight of water, a person, and the occasional stray towel. Start with pressure‑treated 2×6 joists spaced 16 inches on center, anchored to the existing subfloor with galvanized deck screws. Add a double‑layer of ½‑in. plywood on top, staggering the seams for extra rigidity.
Reinforce for the Desert Weight
Peoria’s dry climate can make wood shrink, so give it a little extra love:
- Install blocking between joists where the tub’s legs will sit; this stops any flex under load.
- Use construction adhesive on each joist‑to‑plywood interface to lock everything in place.
- Apply a self‑leveling compound over the plywood to create a perfectly flat surface before the tub goes down.
Once the base is solid, run a laser level across the entire area. If you spot a dip, shim it with ¼‑in. plywood strips until the reading reads zero everywhere. A level foundation isn’t just a nice‑to‑have—it’s the difference between a tub that sits like a throne and one that slides like a sled.
Waterproofing and Drainage: Protecting Against Desert Moisture Issues
Why Desert Moisture Matters
Even in a dry climate like Peoria, a walk‑in tub creates a pocket of humidity that can sneak into the subfloor if you’re not careful. One leak can ruin hardwood, damage joists, and invite mold in just weeks. The key is to treat the tub area like a mini‑spa that never sees a dry day.
Seal the Deal with a Multi‑Layer Barrier
Start with a high‑quality liquid membrane that adheres to concrete, plywood, or cement board. Follow with a sheet‑type waterproofing layer for extra protection. Finish with a silicone‑based sealant around every edge and fixture.
- Apply the liquid membrane in two coats; let each cure fully.
- Overlap sheet membranes by at least 6 inches; tape seams with waterproof tape.
- Run a bead of silicone sealant where the tub meets the wall and floor.
Drainage Design That Works in the Desert
Give water a clear path out of the tub and away from the structure. A properly sloped floor and a well‑placed drain prevent pooling that could corrode the base.
- Slope the floor toward the drain at a minimum of 1/4 inch per foot.
- Install a P‑trap with a vent to keep sewer gases out.
- Use a back‑flow preventer to guard against occasional flash‑floods.
Precise Installation and Plumbing Connections: Step‑by‑Step Execution
First thing’s first: lay out every wrench, pipe cutter, and silicone gun before you even touch the tub. A clean work zone keeps you from hunting for tools mid‑install, and it lets you double‑check that the tub sits perfectly level on the reinforced base. Use a 2‑by‑4 shim under the corners if the floor has a slight dip—don’t trust “good enough.”
Hooking Up the Water Supply
When you connect the hot and cold lines, follow this simple flow:
- Turn off the main shut‑off valve and bleed the lines to relieve pressure.
- Fit flexible copper or PEX tubing to the tub’s inlet ports using push‑fit or crimp fittings—no solder needed.
- Install a dual‑check valve on each line to prevent backflow, a must in desert climates where water pressure can spike.
After the fittings are snug, run a quick leak test with a garden hose before you seal anything. A few drops now save you a flood later.
Final Seal and Test Run
Apply a bead of marine‑grade silicone around the tub’s perimeter, then smooth it with a finger or a caulk‑smoothing tool. Let it cure for at least 24 hours—don’t rush it. Once the seal is set, fill the tub halfway and watch the water level. Look for any seepage at the base, the drain, or the faucet connections. If everything stays dry, you’ve nailed the install; if not, tighten the suspect joint and re‑apply silicone.
Case Study: A Flawless Walk‑In Tub Installation in a Peoria Home
The Challenge
When the Martinez family decided to upgrade their master bath, they discovered a cramped layout, an uneven concrete slab, and a legacy plumbing system that didn’t match modern tub specs. Missing a level base meant the tub would sit askew, and the old copper lines were prone to corrosion in the desert heat.
We broke the problem down into three bite‑size issues:
- Floor irregularities that could cause stress cracks.
- Outdated pipe diameters incompatible with a high‑flow drain.
- Insufficient waterproofing for Peoria’s occasional monsoon bursts.
The Solution
Our crew started with a laser‑level survey to map the floor’s high and low points. We then installed a reinforced plywood subfloor, anchored with 2×6 joists to meet the tub’s weight rating. Next, we swapped the old copper for PEX tubing, adding a dedicated shut‑off valve for easy maintenance.
Waterproofing was a two‑step dance: a liquid membrane over the entire shower pan, followed by a sheet‑applied barrier around the tub’s perimeter. The result? A watertight envelope that laughs at humidity spikes.
The Payoff
After the tub was set, the Martinez family ran a full‑capacity fill test—no leaks, no wobble. They reported a 30% reduction in water usage thanks to the tub’s low‑flow jets, and the new layout added three extra square feet of usable space. Their favorite line? “It feels like a spa, but it’s right in our own home.”
Final Words
Even after the tub is set, the job isn’t truly done until you’ve double‑checked every joint and connection. A quick walk‑through with a flashlight can spot a drip before it becomes a flood. Take a photo of the finished install – it’s proof you did it right and a handy reference for future maintenance.
What to do next
- Run a full‑cycle test: fill, soak, and drain. Listen for any odd noises.
- Inspect the waterproof membrane for pinholes or bubbles.
- Schedule a 30‑day follow‑up with your installer to verify the floor stays level.
If you’d rather skip the DIY guesswork, the pros who specialize in Walk In Tubs are just a call away. They’ll handle the framing, waterproofing, and plumbing so you can focus on the soak. Leave the heavy lifting to the experts and enjoy that desert‑heat relief without a second thought.
People Also Ask
What is the first step in preparing a bathroom for a walk‑in tub in Peoria?
The initial step is to assess the available floor space, verify existing plumbing locations, and ensure the subfloor can support the tub’s weight. This includes checking for level surfaces and any structural reinforcements needed.How do I choose a walk‑in tub that suits Peoria’s hot, dry climate?
Select a tub with high‑quality, insulated acrylic or fiberglass walls and a built‑in heater to maintain comfortable water temperatures. Look for models that feature moisture‑resistant seals and anti‑scale coatings to combat desert humidity.Why is waterproofing especially important for walk‑in tubs in desert areas?
Desert moisture can seep into cracks and cause mold or water damage over time. A thorough waterproof membrane and proper drainage prevent leaks and protect the surrounding structure.Can I install a walk‑in tub myself, or should I hire a professional?
While DIY installation is possible for experienced homeowners, a professional ensures proper framing, load‑bearing support, and code‑compliant plumbing connections. Hiring experts reduces the risk of costly mistakes and guarantees a flawless finish.What are the key signs of a successful walk‑in tub installation?
A level, stable tub with no wobbling, leak‑free plumbing, and seamless waterproofing are primary indicators. Additionally, the tub should integrate smoothly with existing fixtures and meet local building codes.Peoria Bathroom Remodel specializes in comprehensive bathroom renovations, bringing over a decade of craftsmanship to homes throughout Peoria, Arizona. Their team combines local knowledge with a commitment to quality workmanship, ensuring each project reflects the unique style and functional needs of the community.
Need Bathroom Remodel?
We deliver prompt, results‑driven home service solutions throughout Peoria, AZ and neighboring ZIPs (85345, 85381, 85382, 85383, 85385). Our focus on efficiency gets your project completed on schedule, every time.
Get Bathroom Quote